Articles
Useful Tips on How to Assembly a Tap and Leak Repair
When you’re running a busy restaurant, even a minor issue can disrupt operations. That’s exactly what happened to a popular restaurant here in the heart of Águilas, when they experienced an unexpected water leak. The issue caused a bit of stress for the owners, who needed a quick and reliable solution to get their restaurant back in full working order.
INSTALLING THE TAP
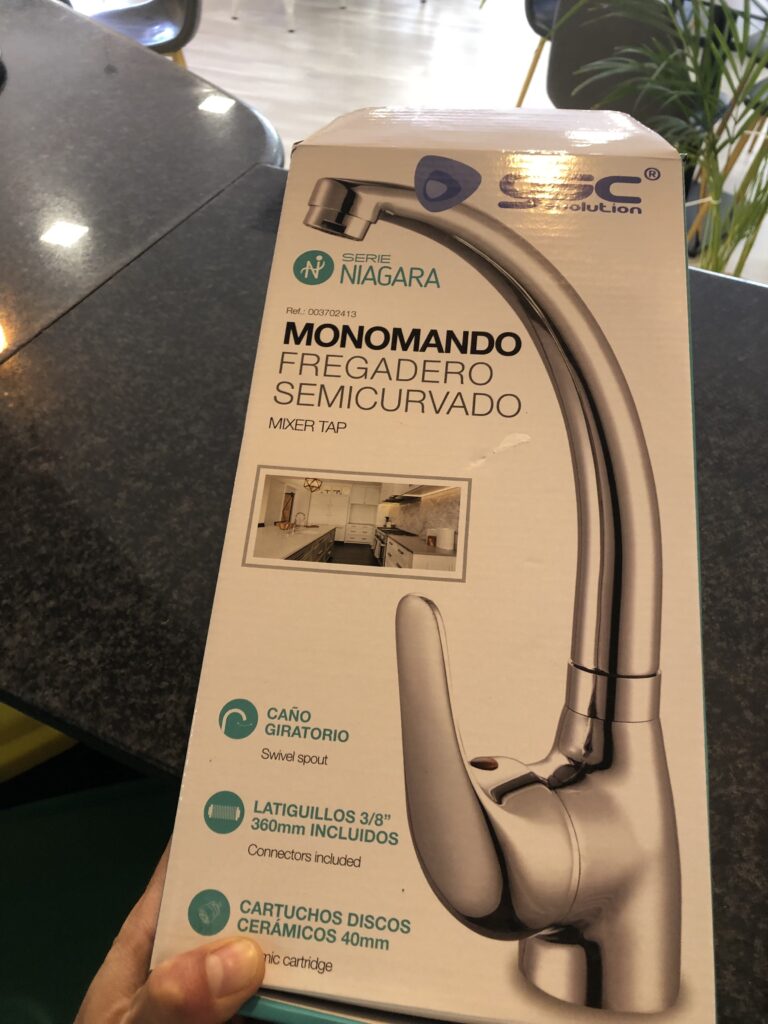
Here’s a List of Essential Items you’ll need when Installing and Assembling a tap:
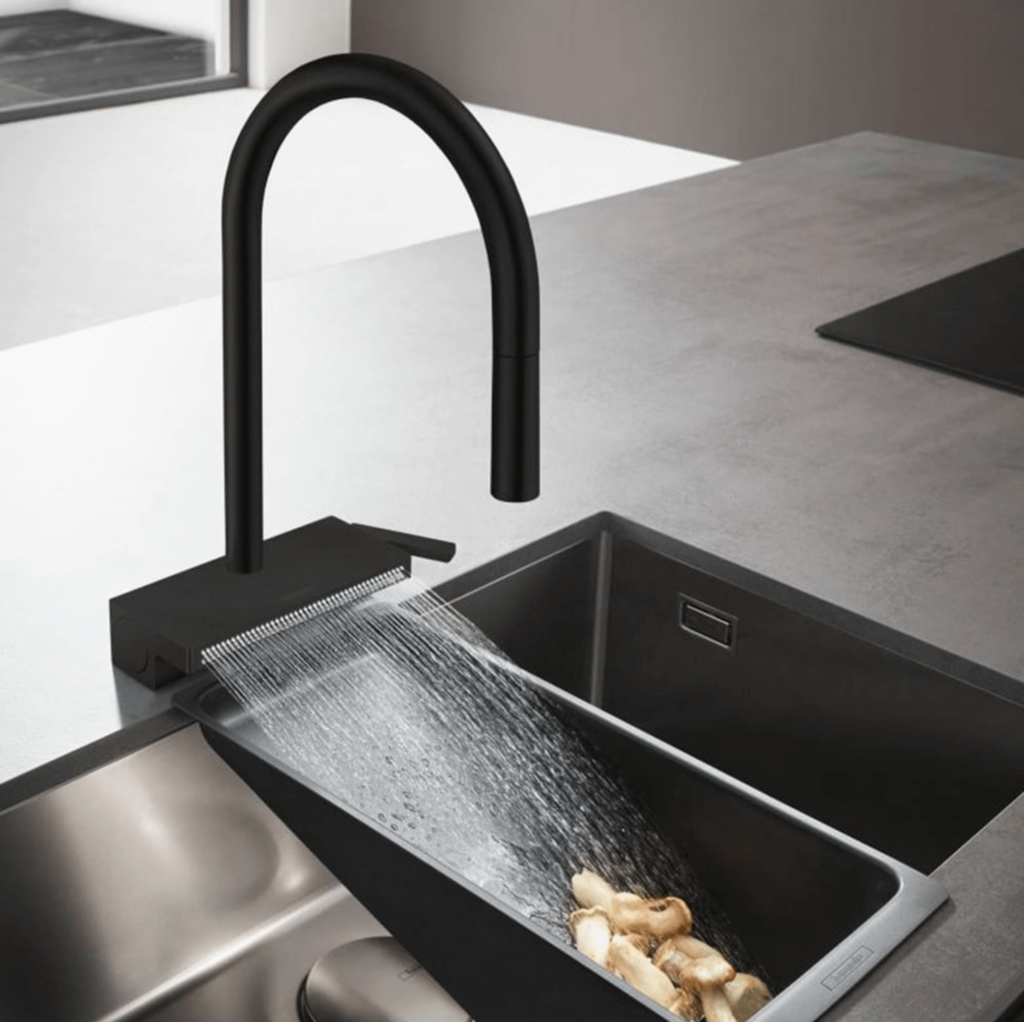
- New Tap (Faucet) Assembly
- Adjustable Wrench or Basin Wrench
- Plumber’s Tape (Teflon Tape)
- Silicone Sealant or Plumber’s Putty
- Screwdriver (Flathead/Phillips)
- Pipe Cutter (optional)
IMPORTANT!
Make sure that the main water supply is OFF.
The Challenge
The leak was traced to a faulty tap in the kitchen, which had already started causing significant water damage, including rusted metal around the affected area. To make matters worse, the leak was located behind the sink in a tight space with very limited access, making it difficult to unscrew the old part. At first, it seemed almost impossible to reach, but then I had a breakthrough: by slightly lifting the sink and pulling it out, I gained just a few inches of extra space. That was all I needed to access the problem area and successfully remove the old, worn-out tap.

Our Approach
When I arrived at the restaurant, my first priority was to locate the source of the leak. After a thorough inspection, I found that the plumbing system had suffered some wear and tear, particularly around the taps, which were no longer sealing properly.
Here’s a step-by-step breakdown of how we tackled the problem
Assessment and Diagnosis
I quickly identified that the tap assembly was the culprit. It was worn out, and the seals had degraded, leading to water leaking around the connections.
Disassembly
The tricky part was the limited space to work in, but after some careful planning, I managed to disassemble the affected plumbing tap. This process required precision and patience to ensure that no further damage was done to the surrounding fixtures.
Repair and Replacement
I replaced the faulty seals and parts with high-quality components designed to withstand the demands of a busy restaurant kitchen. We also made sure the tap assembly was reinstalled securely to prevent future issues.
Leak Test
After completing the repairs, I thoroughly tested the entire system to ensure that everything was functioning perfectly and that there were no more leaks.
Whether it’s a small leak or a major plumbing emergency, Handyman Águilas is here to provide professional, reliable service. We understand the importance of keeping your business /home running smoothly, and we’re always ready to help with any plumbing needs you might have.
If you need professional assembly, disassembly, or repair of plumbing systems, feel free to reach out to us. Your business can’t afford to wait, and we’re here to ensure everything runs smoothly.
DISCLAIMER* I am not a licensed plumber, but I have extensive experience and a deep passion for plumbing work. Over the years, I’ve successfully completed numerous plumbing projects, including installing taps, repairing leaks, replacing pipes, and assembling plumbing fixtures.
ADDITIONAL TIPS TO AVOID LEAKS
Use Plumber’s Tape
Always wrap Teflon tape around the threaded connections of pipes and fittings. This ensures a tight seal and prevents water from seeping through.
Tighten Connections Properly
Use the correct tools, like an adjustable wrench, to ensure all connections are snug but not over-tightened, which could damage threads or fittings.
Check Seals and Washers
Ensure that all rubber washers and O-rings are in good condition and properly seated. Worn or improperly installed washers are a common cause of leaks.
Apply Plumber’s Putty or Silicone Sealant
Use silicone sealant or plumber’s putty around the base of the tap where it meets the sink. This creates a watertight seal and prevents leaks from underneath the fixture.
Inspect for Cracks or Damaged Parts
Before installation, check all components for cracks, corrosion, or defects that could lead to leaks.
Always Test Before Finalising
After assembly, turn on the water and check for leaks at all joints and connections. Tighten or adjust as needed to ensure no water escapes.
Following these steps will help you achieve a secure, leak-free installation.
Did You Know that Using plumber’s tape (Teflon tape) can actually prevent up to 90% of potential leaks in threaded pipe connections!
Some of the links in this article are affiliate links. This means that if you decide to make a purchase through them, I will receive a small commission.
At no extra cost to you!
This allows me to continue sharing authentic content and recommendations that I truly love.
Thank you for being part of this journey and for supporting my work!


