Articles
How to Paint a Flat: Step-by-Step Guide and Useful Tips
Painting a flat can completely transform a space, bringing new life to tired walls. Whether you’ve just moved into a freshly renovated apartment or your house is already set up with all the essential fixes like plumbing and electricity, the next logical step is painting. In this post, I’ll walk you through how to paint your flat using a roller, as well as share some useful tips and product recommendations.
Additionally, I’ll highlight some of the extra tasks I tackled, like fixing imperfections on the wall and ceiling caused by poor plastering.
From Dull to Dazzling
Here is a List of Essential Items for Painting a Flat/House:
- Paint Roller
- Extension Pole (for ceilings and high walls)
- Painter’s Tape (to protect edges and corners)
- Drop Cloths or Plastic Sheeting (to protect floors and furniture)
- Spatula or Putty Knife (for applying wall filler)
- Primer Paint (for prepping the walls, especially on porous or damaged surfaces)
- Dust or Respirator Mask (to avoid inhaling dust and fumes)
- Gloves (to protect your hands)
- Safety Glasses (for eye protection, especially when sanding)
- White Wall Paint (washable, matte, or satin finish depending on the room)
IMPORTANT TIP!
It’s always advisable to thoroughly clean and prime the walls before painting, especially if the surface has imperfections or stains. This ensures that the paint adheres properly, giving you a smooth, professional finish and helping the color last longer without peeling or fading.
Preparation: Setting the Stage for Success
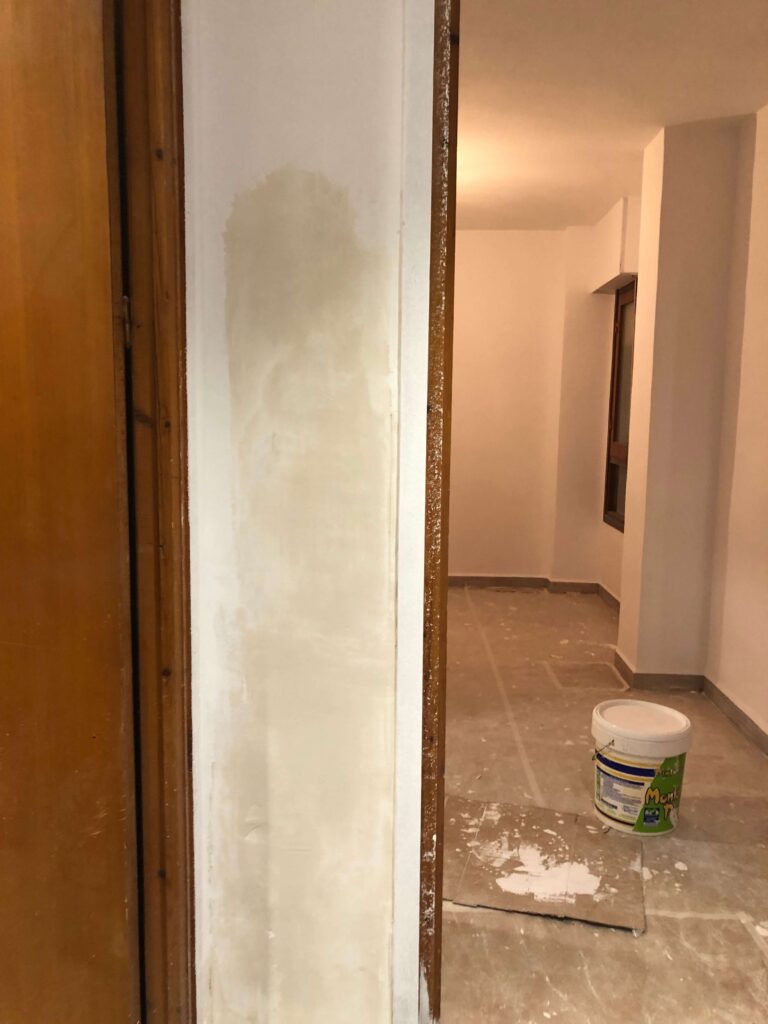
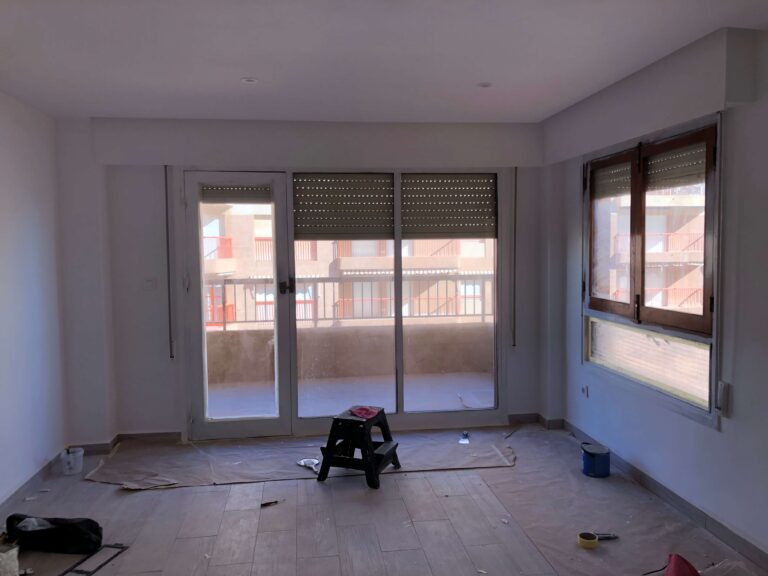
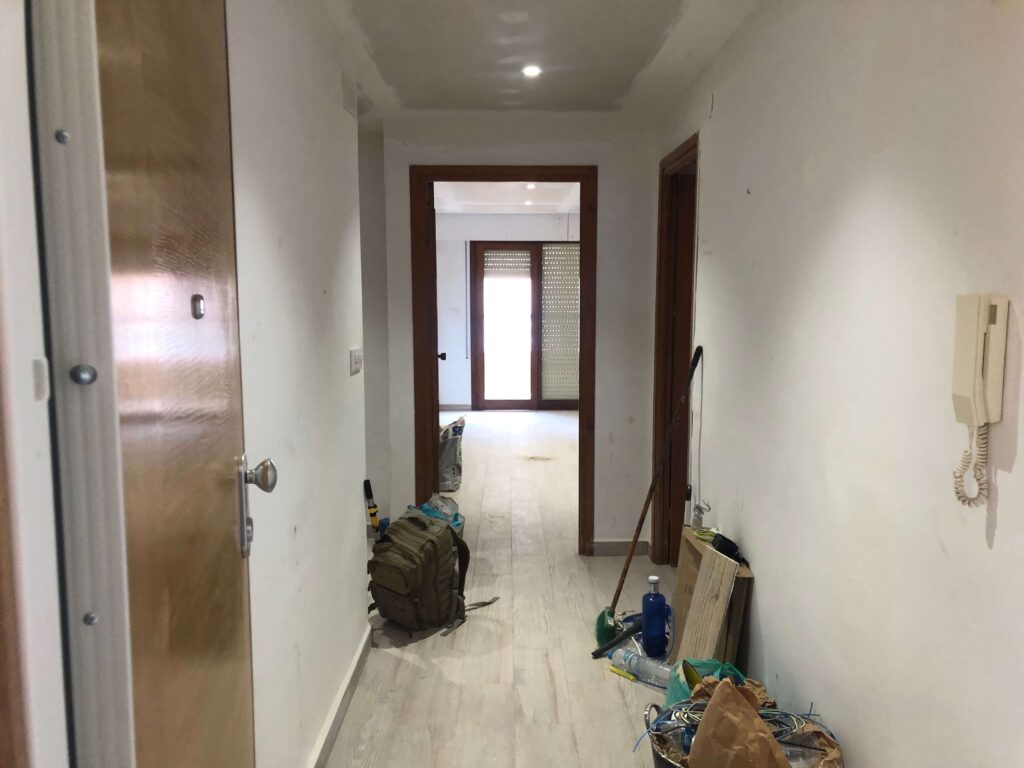
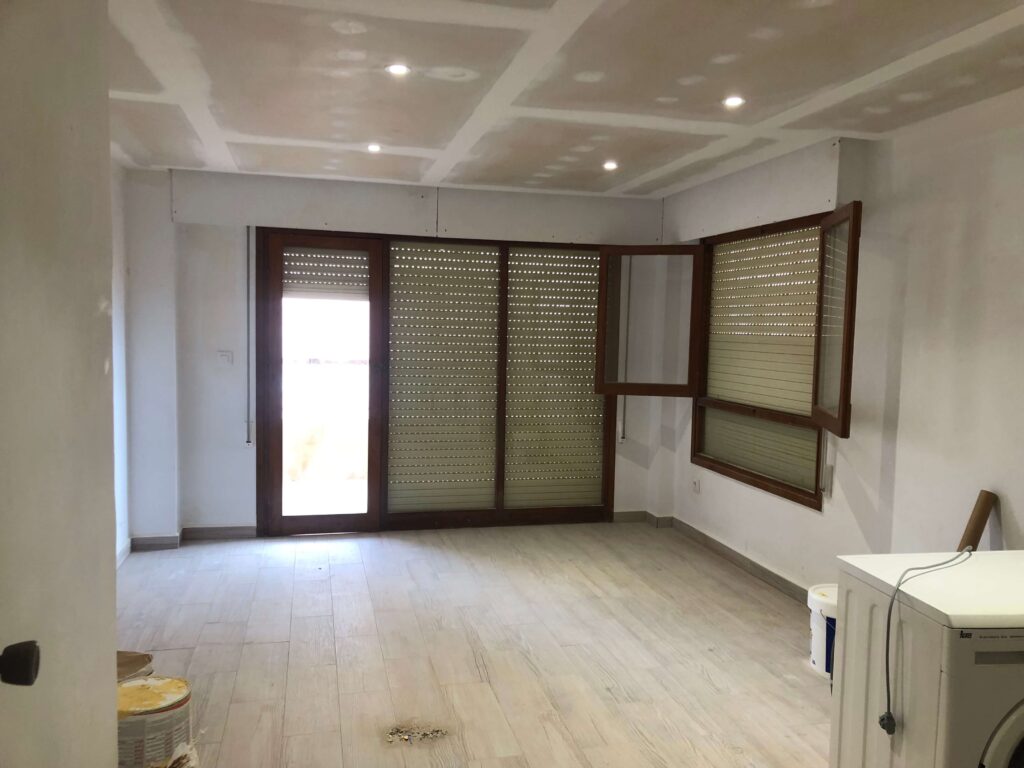
Before jumping into painting, preparation is key. Start by making sure the area is clean, free of dust, and fully dry. Since in this case, the plumbing, electricity, and other major installations are already in place, you can focus solely on prepping the walls and ceiling.
If you plan on using a roller, which I recommend for this job, it’s important to tape off corners, window frames, and outlets to avoid any accidental smudges.
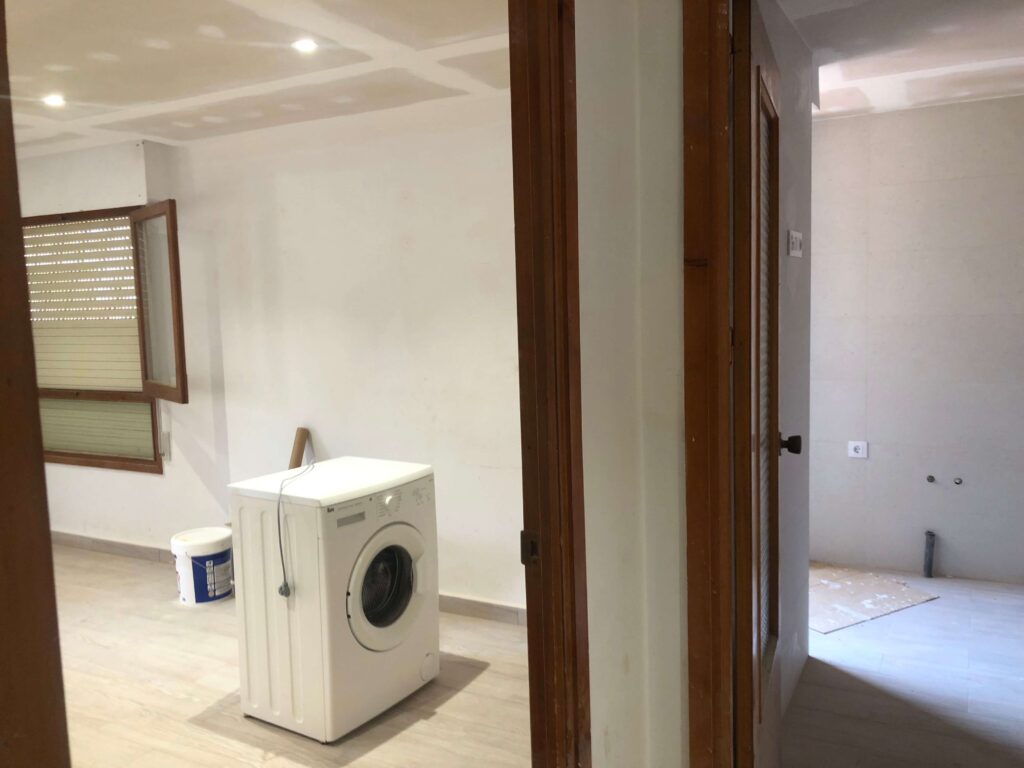
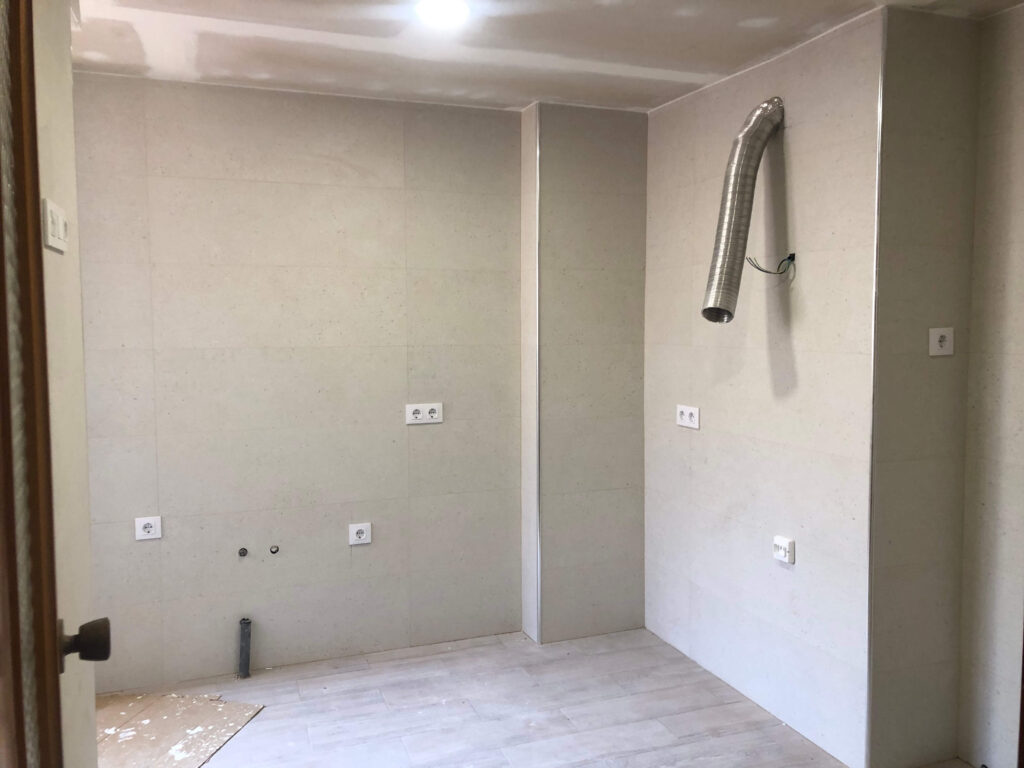
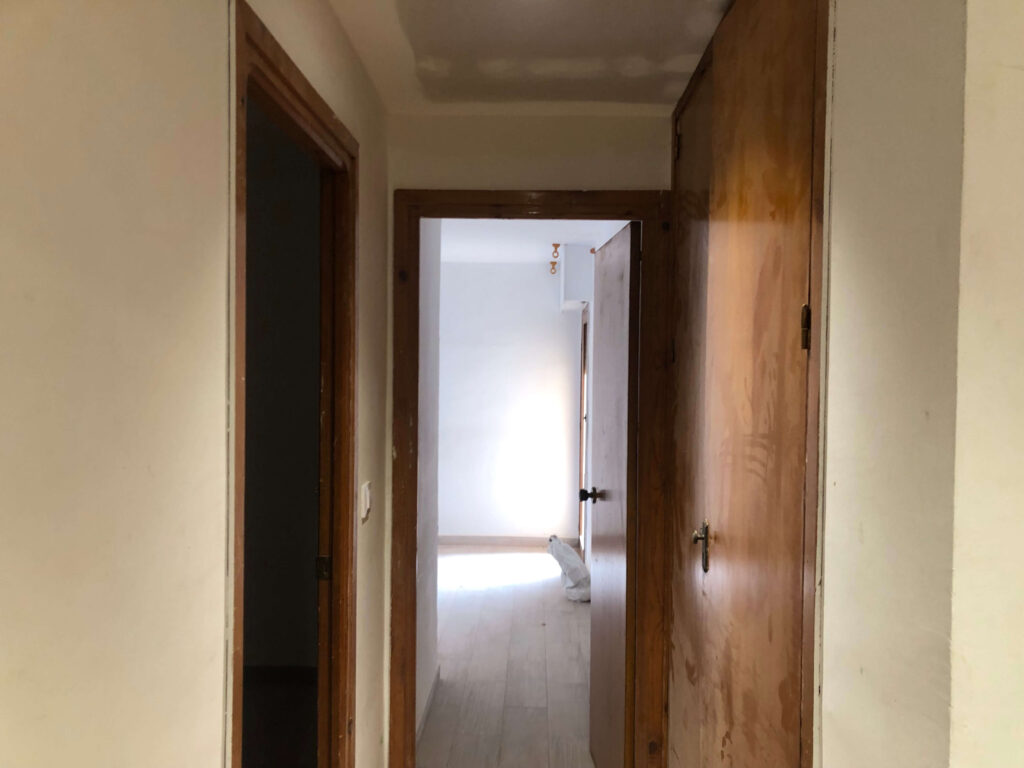
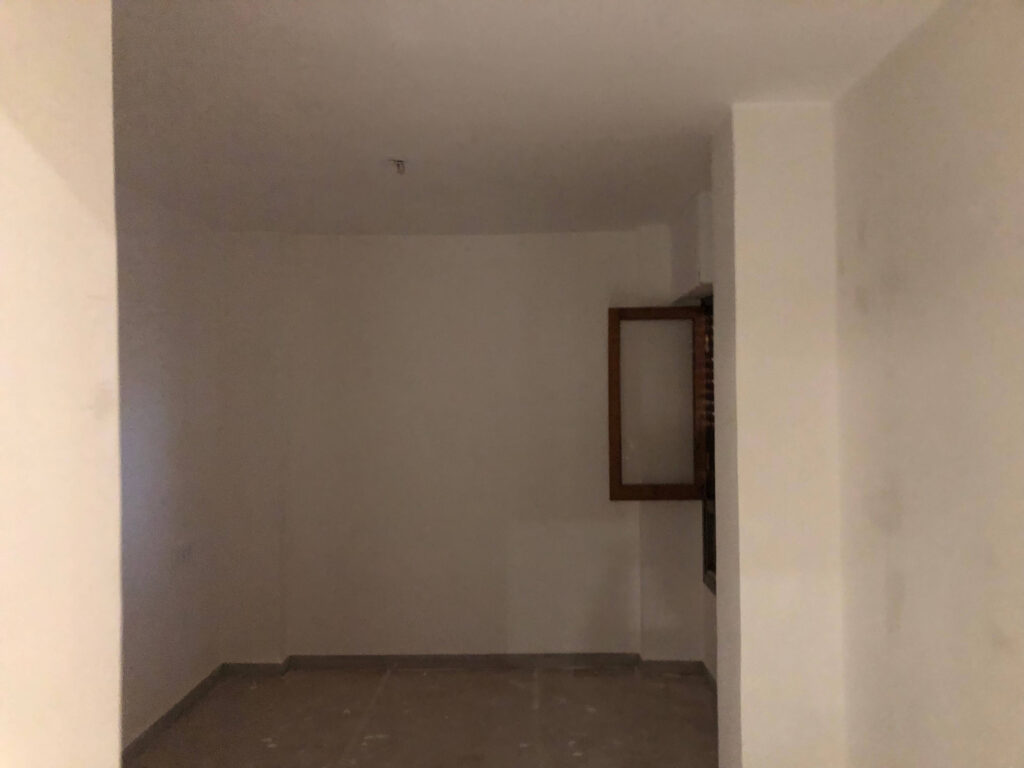
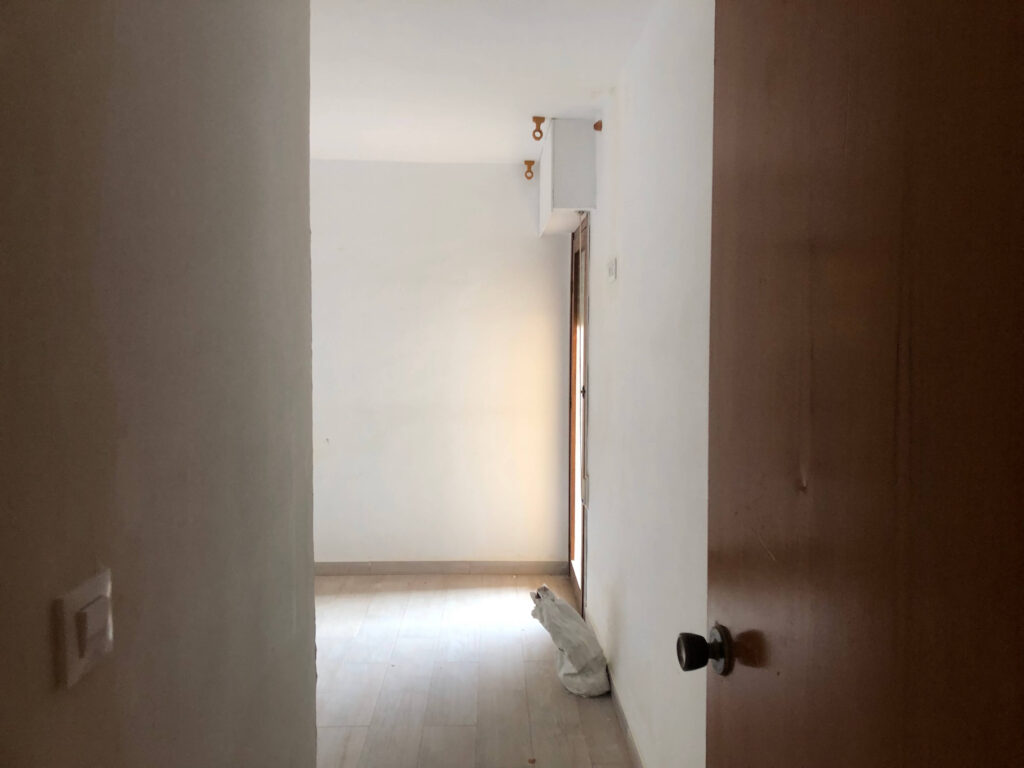
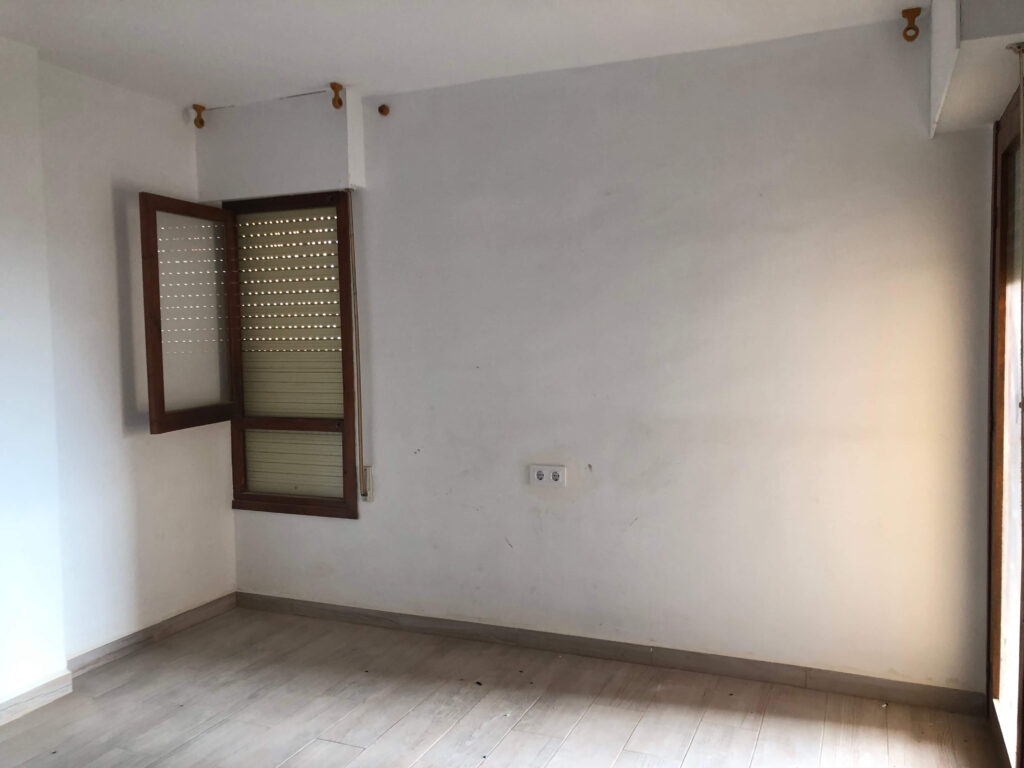
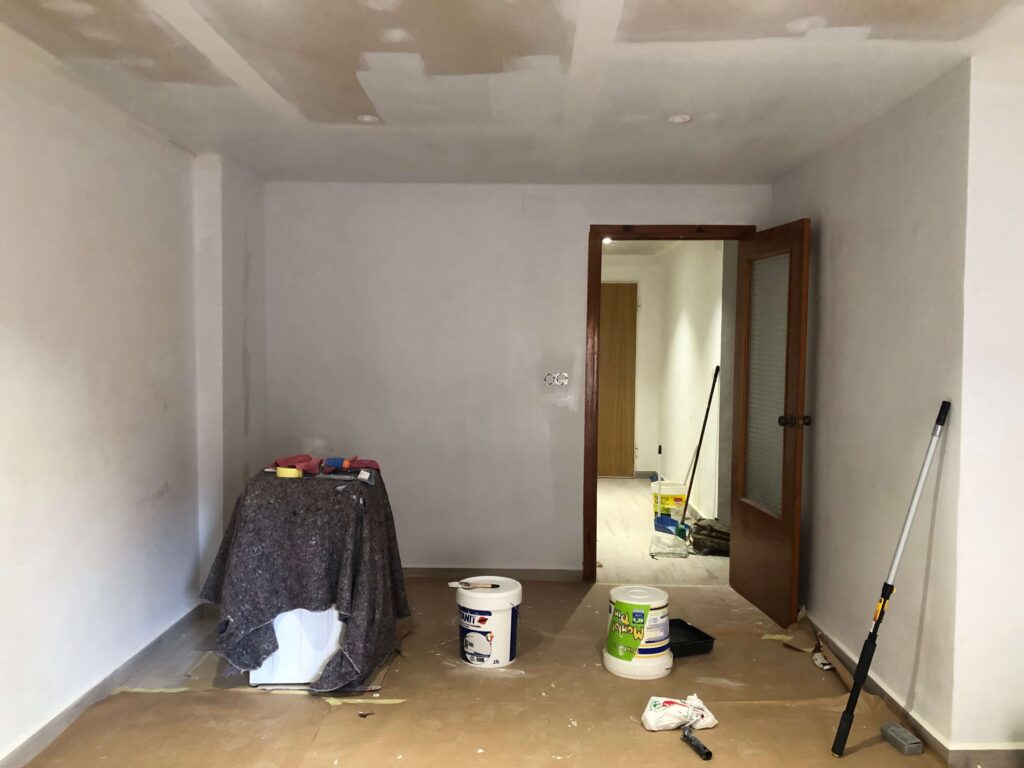
For larger spaces, you can also consider using a spray paint machine for a quicker finish, but for this particular job, I opted for the traditional roller method for more precision.
Fixing Wall and Ceiling Imperfections
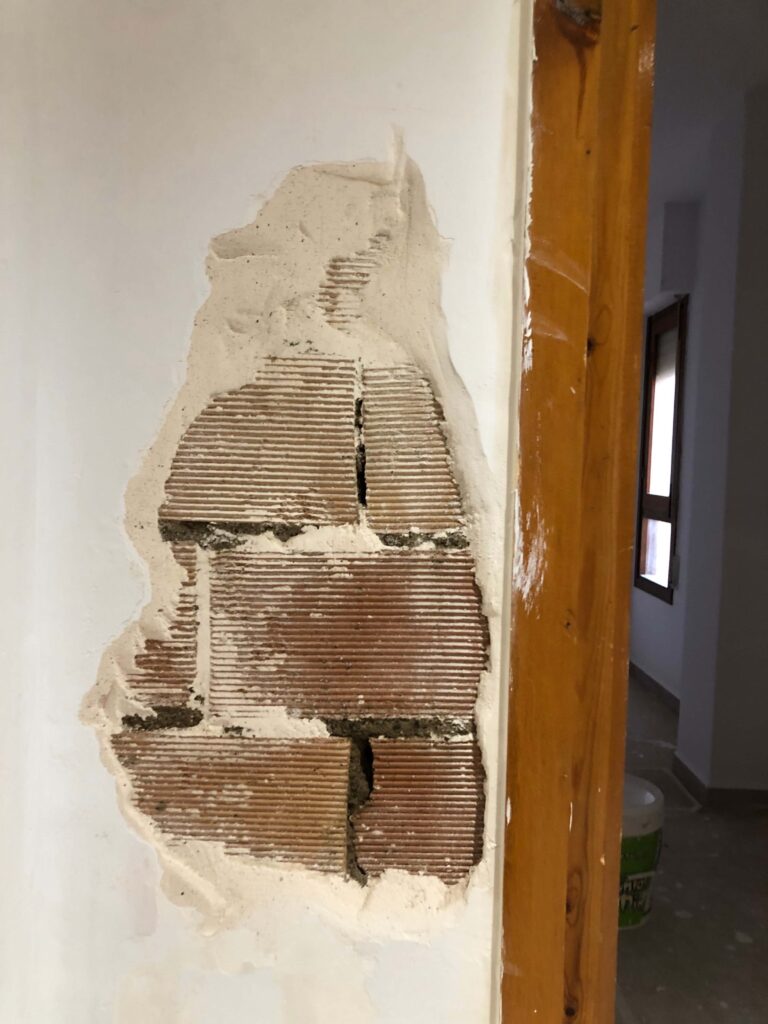
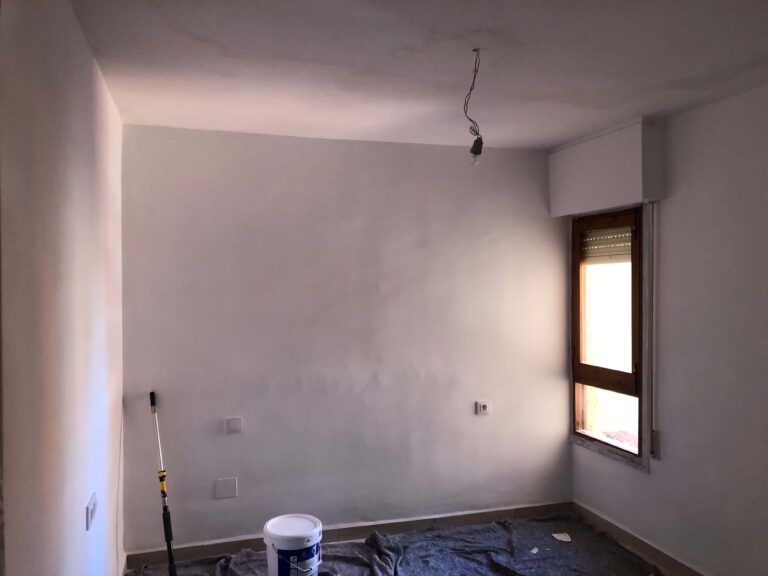
In this project, the previous plastering hadn’t been done correctly, leaving small holes in the walls and ceiling due to improper mixing and trapped air pockets. Before painting, it’s crucial to fix these imperfections:
- Use a wall filler to patch up any holes or cracks.
- Once dry, sand down the areas to create a smooth surface, ensuring the paint adheres properly.
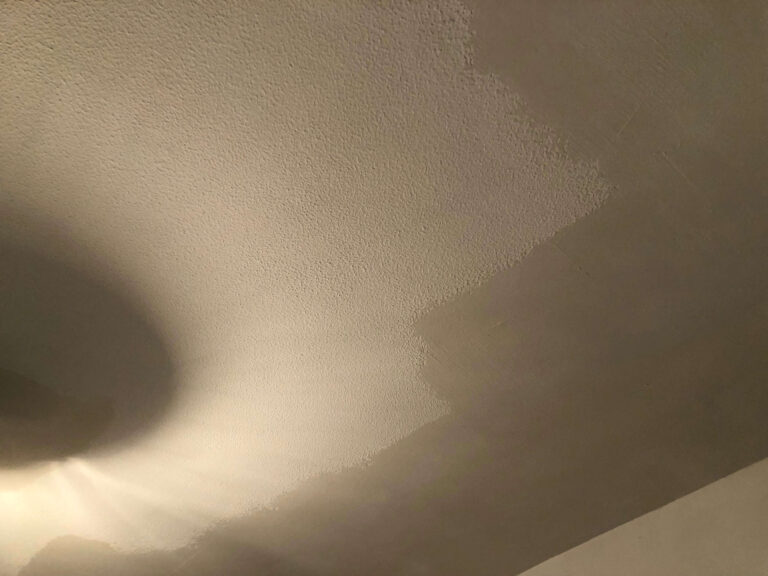
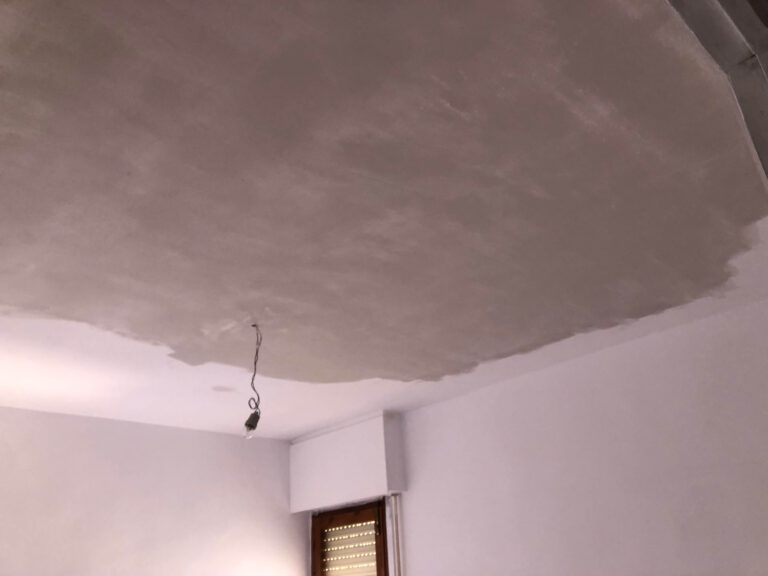
- Don’t forget the ceiling! This is often overlooked but is essential for a professional finish.
Choosing the Right Tools and Paint
For the best results, I always recommend using high-quality paints. Depending on your location, you can find great options on Amazon or in local markets in Spain, such as Leroy Merlin or OBRAMAT (Bricomart). Here are some product suggestions:
Roller: I used a medium-pile roller, which works great for both smooth and slightly textured walls.
Paint: Choose a washable, matte paint for a clean and durable finish—perfect for everyday living spaces.
I’ve linked some affiliated products above that I highly recommend based on this project. Be sure to check them out for the best prices & quality!
Painting: Step-by-Step Process
Now that everything is prepped and fixed, let’s dive into the painting process:
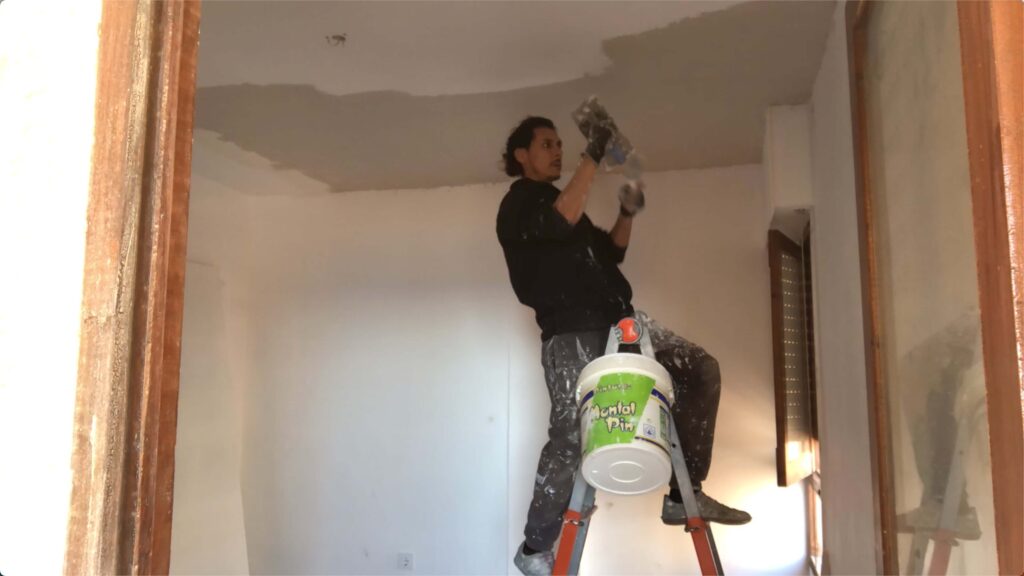
Start with the ceiling: Begin by painting the ceiling to avoid drips on freshly painted walls. Use a roller with an extension pole for easier coverage.
Work on the walls next: Load the roller evenly with paint, starting from the top of the wall and working your way down in smooth strokes. Apply two coats for even coverage.
Edges and details: Use a smaller brush to carefully paint the edges near corners and windows, ensuring clean lines.
Extra Tips for a Professional Finish
Here are some additional tips to get a flawless finish:
Ventilate the room to speed up drying and reduce paint fumes.
If you notice streaks or roller marks, allow the paint to dry slightly before going over it again with a light second coat.
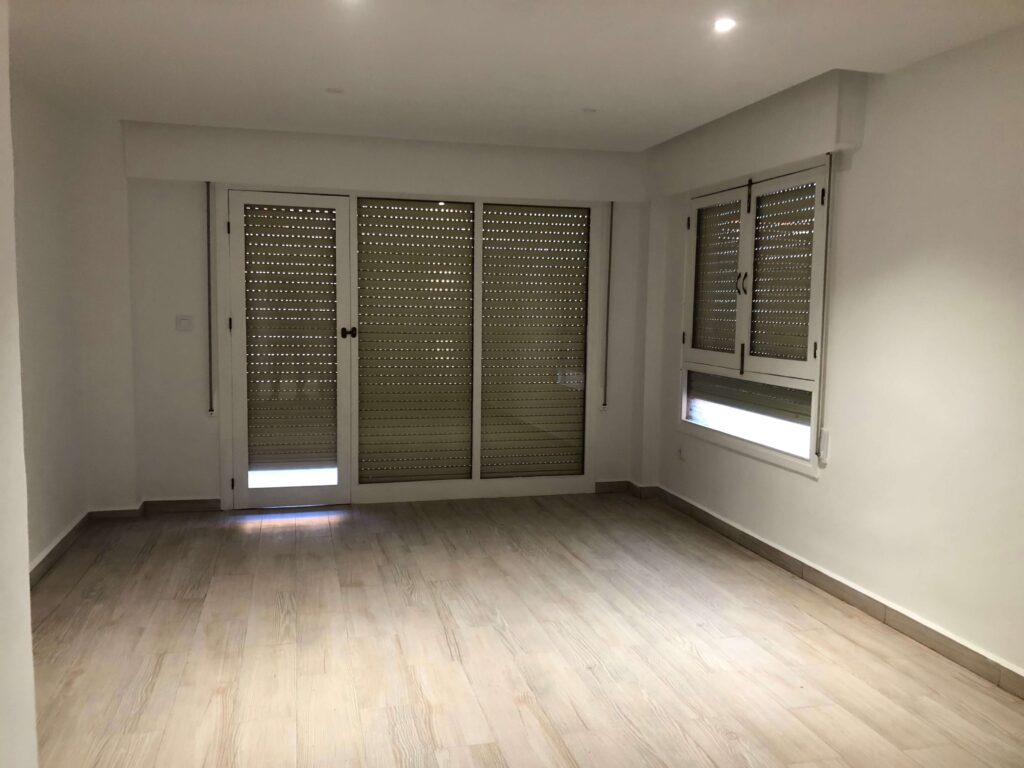
Did you know? For tiny holes caused by bad plastering, apply multiple thin layers of filler rather than one thick layer to prevent further cracking.
Conclusion
Painting a flat can be a rewarding project that adds a fresh, personalised touch to your home. While it’s possible to use a spray paint machine, I chose the roller method for more control and precision. Remember to fix any imperfections like poorly plastered walls or ceilings before painting for the best results. With the right tools, products, and a little patience, you can achieve a professional finish that elevates your space.
ADDITIONAL ITEMS
Shop Recommended Products
High-Quality Roller Set, Washable Matte Paint & Wall Filler
Cleanup Supplies
Paint Remover (for accidental spills), Bucket of Water (for rinsing brushes and rollers), Roller Scraper (to remove excess paint before cleaning), Paint Rags or old towels (for quick cleanups)
Optional but Helpful
Paint Edger (for clean lines around trim and windows), Ladder or Step Stool (for reaching high areas), Painter’s Grid (for evenly distributing paint on rollers), Caulk and Caulking Gun (for sealing cracks between walls and trim)
This list covers all the basics for prepping, painting, and cleaning up a flat or house.
Some of the links in this article are affiliate links. This means that if you decide to make a purchase through them, I will receive a small commission.
At no extra cost to you!
This allows me to continue sharing authentic content and recommendations that I truly love.
Thank you for being part of this journey and for supporting my work!

