Articles
Look Like Expensive & Elegant White Doors
Looking to upgrade your home without breaking the bank? In this video, we’ll show you how to transform your ordinary wood doors into stunning, high-end white doors with our easy DIY painting technique! Whether you’re prepping for a sale or just want to refresh your space, this project is perfect for you.
Join us as we guide you step-by-step through the process of painting wood doors to achieve that expensive, sleek look. We’ll cover everything from the materials you’ll need, to tips for ensuring a flawless finish. Say goodbye to dull and outdated doors, and hello to a modern, elegant upgrade!
Don’t forget to like, share, and subscribe for more DIY home improvement tips and tricks. Let’s get started on creating the beautiful doors you’ve always wanted!
Watch how I turn dull into dazzling with just a few coats of paint!
Here are the Tools & Materials you’ll need to achieve a flawless, elegant finish on your wood doors:
- Electric Sander or Sandpaper
- Quality Paint Brushes
- Painter’s Tape
- Drop Cloths
- Fine Grit Sandpaper for Smoothing Between Coats
- High-Quality Primer
- Self-Leveling White Paint (Satin or Semi-Gloss)
- Clear Topcoat for Extra Durability (optional)
- Cleaning Cloths
- Nitrile Gloves and Respirator Mask for Safety
I’ve linked some affiliated products above that I highly recommend. Be sure to check them out for the best prices & quality!
IMPORTANT TIP!
Always take your time with preparation. A smooth, clean, and well-prepped surface is the foundation of a high-end, elegant finish. Sand down imperfections, use a quality primer, and apply thin, even coats of paint, letting each layer dry completely before applying the next. Skipping or rushing through these steps will compromise the final result.
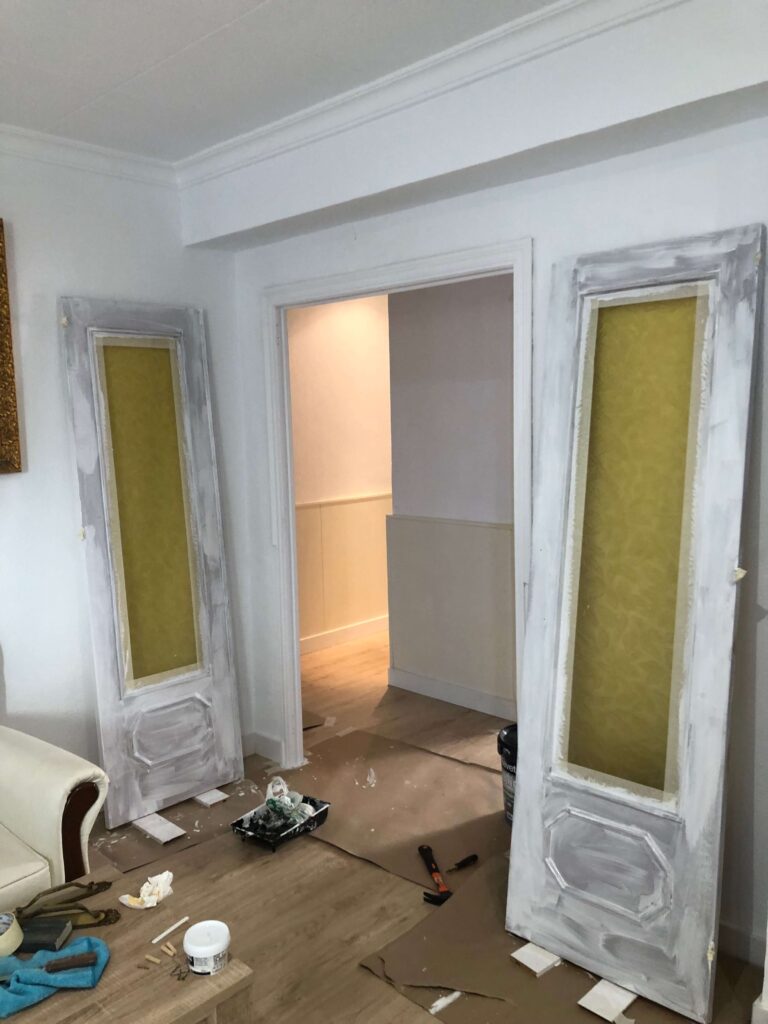
Preparation is Key
Start by sanding the surface of the door to remove any old finish, ensuring a smooth base. This is crucial for the paint to adhere properly and avoid imperfections.
Clean the door thoroughly to remove dust and debris, which could affect the finish.
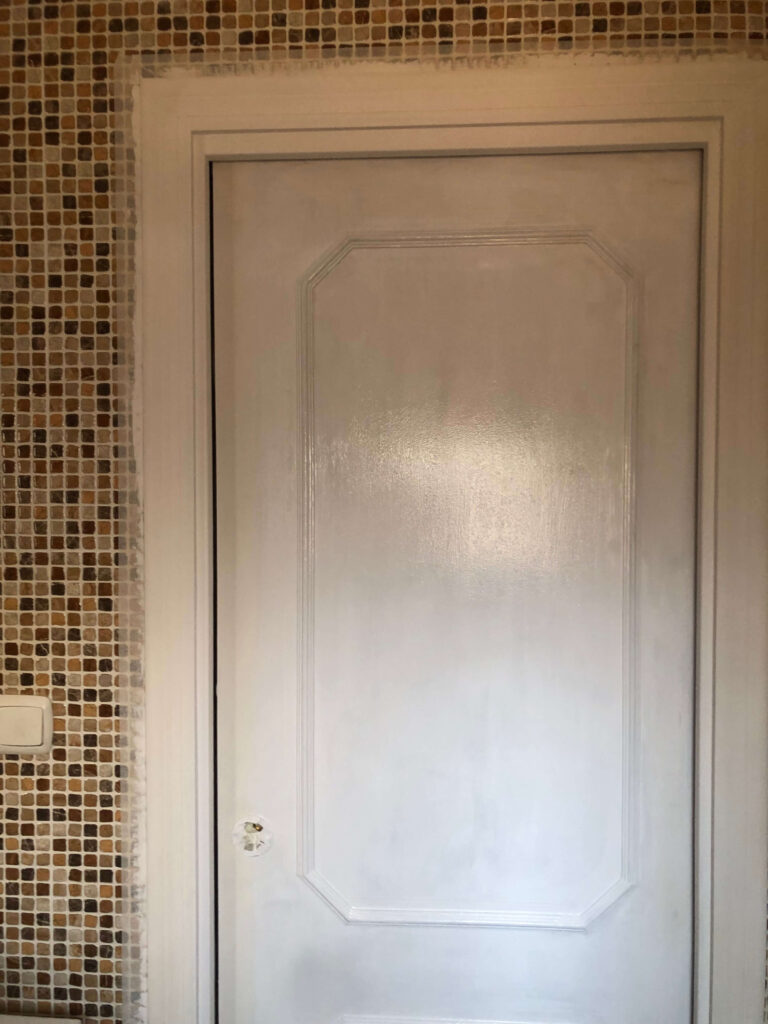
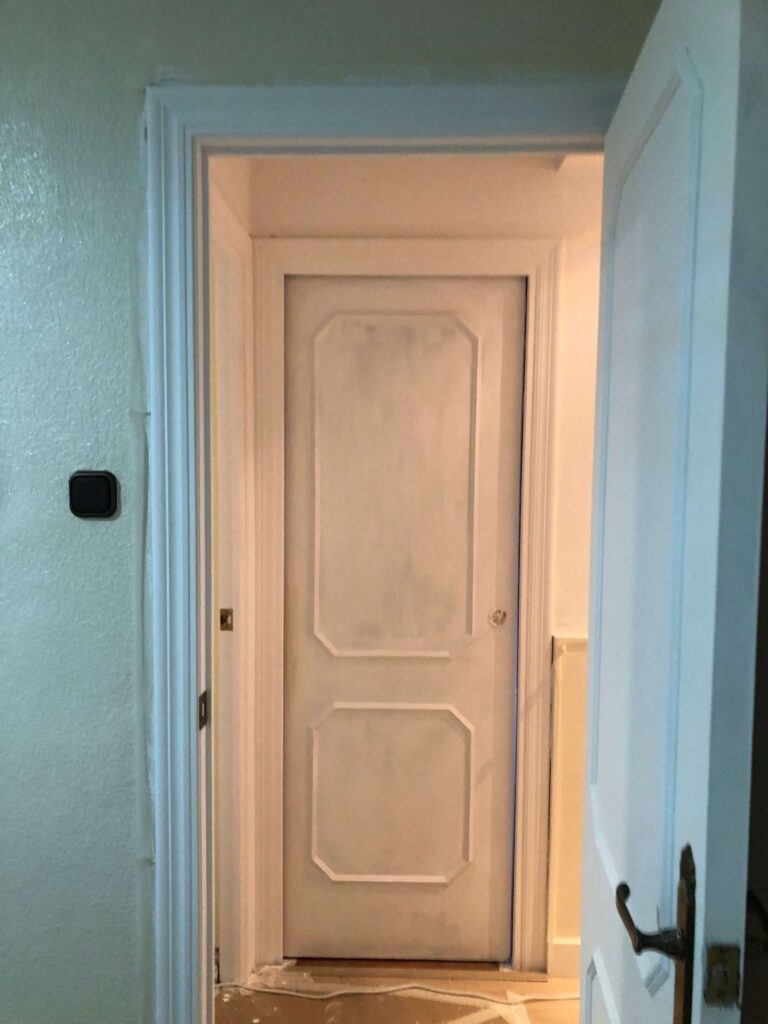
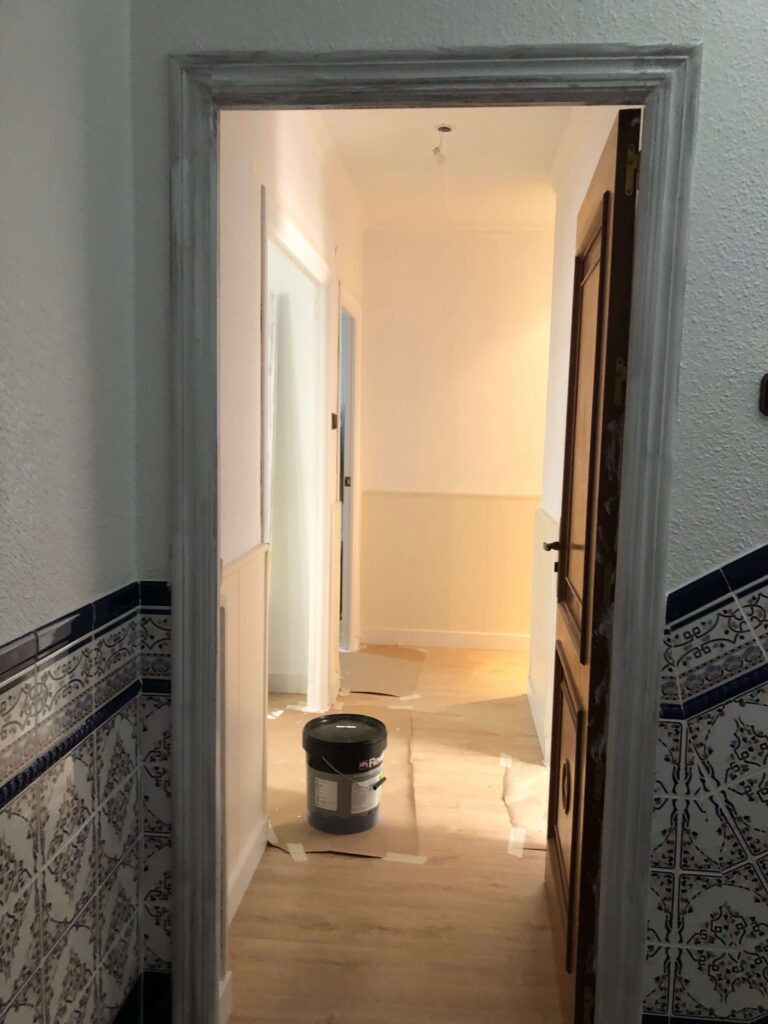
In this particular project, the owner preferred not to sand the doors to avoid creating dust and a mess throughout the apartment. Instead, we opted to invest in a high-quality, specialised paint designed to adhere well without extensive surface preparation. This approach allowed us to achieve a smooth, elegant finish while minimising disruption and cleanup.
Primer Application
Apply a high-quality primer to the door, as it helps seal the wood, covers any imperfections, and provides a solid base for the paint. For this project, I chose to use a paint brush to ensure I could reach all the intricate and hard-to-reach areas. While using a brush takes longer than a roller, it allows for better coverage in detailed sections, making the extra effort worth it. You can also combine both techniques—using a brush for edges and detailed areas, and a roller for larger, flat surfaces—to achieve a smooth, even finish.

Choosing the Right Paint
As mentioned earlier, we opted for a high-quality paint specifically designed to adhere well without extensive prep. When selecting paint, choose one that is durable and offers a smooth finish. Satin or semi-gloss finishes are ideal for an elegant look, reflecting light without being overly shiny. It’s also best to use paints with self-leveling properties to minimize visible brush strokes and achieve a sleek, professional finish.
If you’d like to learn more about our services, please visit our Paint and Wall Texture section
Layering and Coats
Achieving a high-end, elegant look requires multiple coats of paint. Be prepared to apply at least three to four thin layers. It’s better to apply several thin coats than to try and cover the door in one or two thick coats, which could lead to drips and unevenness.
Allow each coat to dry completely before applying the next one. This will ensure a smooth, polished finish.
Did You Know? Using self-leveling paint can make a huge difference in the final look of your project. Unlike regular paints, self-leveling formulas smooth out as they dry, reducing brush strokes and leaving a flawless, professional finish—even if you’re not an expert painter!
Finishing Touches
Sand lightly between coats using a fine-grit sandpaper to smooth out any imperfections.
Consider adding a clear topcoat for extra durability and to give it a subtle shine, enhancing the elegant effect.
Final Tip
While painting wood doors to look expensive can be rewarding, it’s a detailed process that requires patience and precision. Investing the time and effort will make a significant difference in achieving a luxurious, high-end result.
Frequently Asked Questions
Do I need to sand the doors before painting?
While sanding is recommended for a smooth, clean base, it’s possible to skip this step if you use a high-quality paint designed to adhere without extensive prep. However, skipping sanding might affect the durability of the finish.
How many coats of paint should I apply?
For the best results, plan on applying at least three to four thin coats. This ensures even coverage and a smooth, elegant finish.
Can I use a roller instead of a brush?
Yes, you can use a roller for larger, flat surfaces, but it’s best to combine it with a brush for edges and hard-to-reach areas. This helps achieve a consistent finish across the entire door.
What type of paint finish is best for doors?
Satin or semi-gloss finishes are ideal because they reflect light without being too shiny, giving the doors an elegant and refined look.
How long should I wait between coats?
Allow each coat to dry completely before applying the next. Depending on the paint, this could range from 4 to 6 hours. Always follow the manufacturer’s recommendations for drying times.
Do I need a primer before painting?
Yes, using a primer helps seal the wood, cover imperfections, and provide a solid base for the paint to adhere. It’s especially important if you’re painting over darker colors or raw wood.
Conclusion
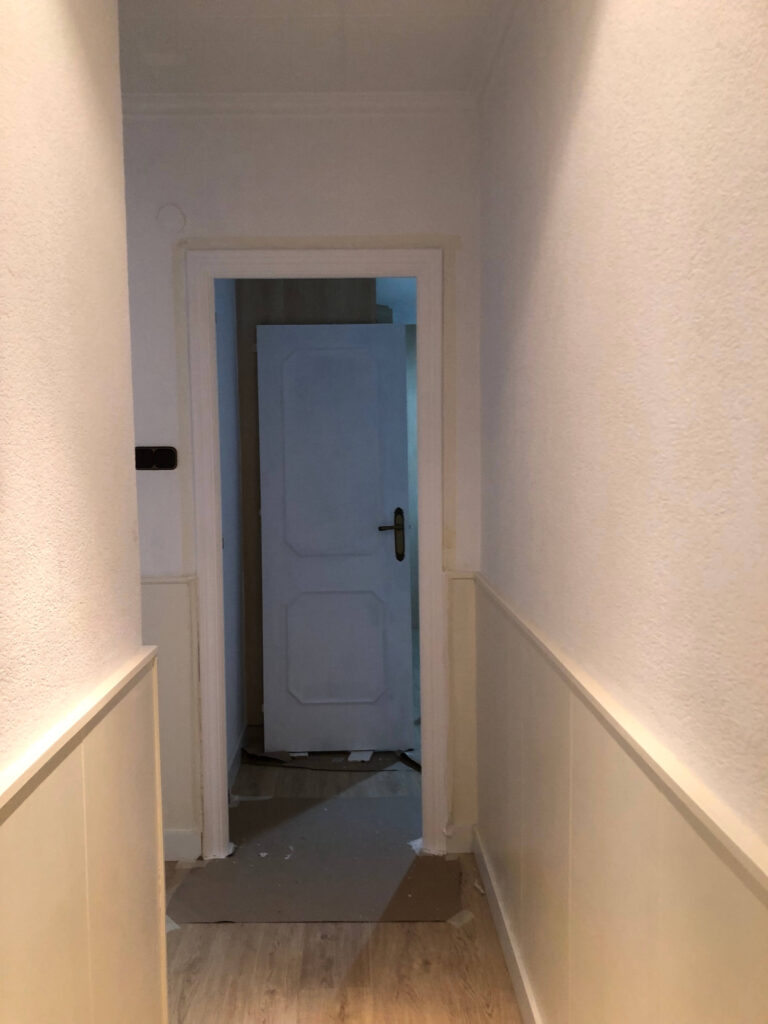
Transforming wood doors into elegant, high-end white doors is all about attention to detail and using the right techniques and materials. While it may require extra time and patience, especially when focusing on preparation and applying multiple coats, the results speak for themselves. Whether you’re aiming for a smooth, flawless finish or trying to avoid making a mess with minimal sanding, investing in quality products and following these steps will ensure your doors look stylish and refined. With the right approach, you can achieve a luxurious, professional look that elevates any space.
Some of the links in this article are affiliate links. This means that if you decide to make a purchase through them, I will receive a small commission.
At no extra cost to you!
This allows me to continue sharing authentic content and recommendations that I truly love.
Thank you for being part of this journey and for supporting my work!

