Articles
How to Remove a Popcorn Ceiling
Popcorn ceilings, also known as textured or acoustic ceilings, were popular in the past but are now seen as outdated. Removing them can drastically improve the look of your home and even increase its value.
In this guide, I’ll show you how to take off a textured ceiling yourself. Plus, I’ve included a video tutorial and a list of essential tools with affiliate links, making it easy to get everything you need for the job.
Say Goodbye to Popcorn Ceilings
Here are the Tools & Materials you’ll need to Successfully Remove a Popcorn Ceiling:
- Water Sprayer – Helps soften the texture for easier removal
- Wide, Flat Putty Knife – To scrape off the texture without damaging the ceiling
- Plastic Drop Cloths – To protect your floors and furniture
- Safety Mask – Essential for protecting your lungs from dust
- Protective Goggles – Prevents debris from getting into your eyes
- Ladder – To reach higher areas safely
- Sandpaper or Electric Sander – For smoothing any rough patches
- Painter’s Tape – To secure plastic drop cloths and protect wall edges
- Bucket and Sponges – For cleaning up as you go
- Paint & Roller – Optional, if you are planning to Paint a flat
I’ve linked some affiliated products above that I highly recommend. Be sure to check them out for the best prices & quality!
IMPORTANT TIP!
When I started, I didn’t have a ladder on hand, so I used a bucket to reach the ceiling. After a few hours, I ended up with a lot of back and arm pain. That’s why it’s crucial to always use the right tools! A proper ladder makes the job easier and saves you from discomfort.
Preparation
Before you start, it’s essential to prepare the room:
- Remove furniture or cover it with plastic drop cloths.
- Tape down the edges of the plastic to protect floors and walls.
- Wear your safety mask and goggles to avoid inhaling dust.
Wet the Ceiling
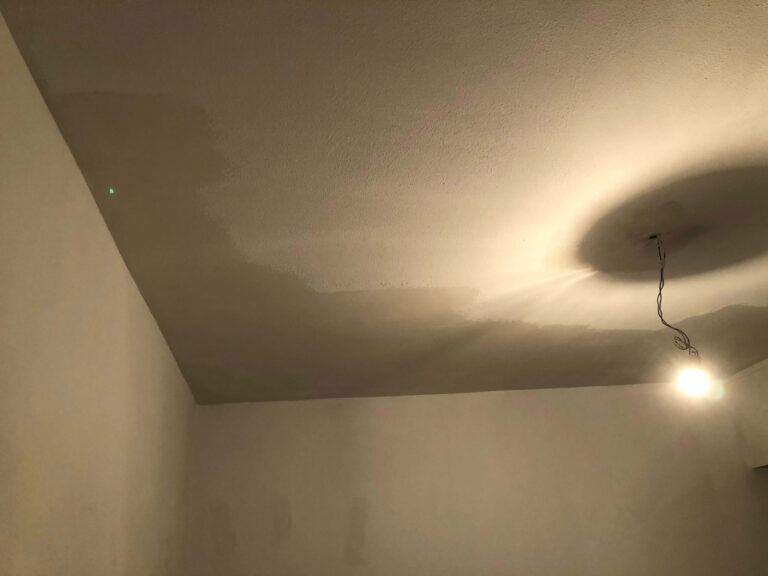
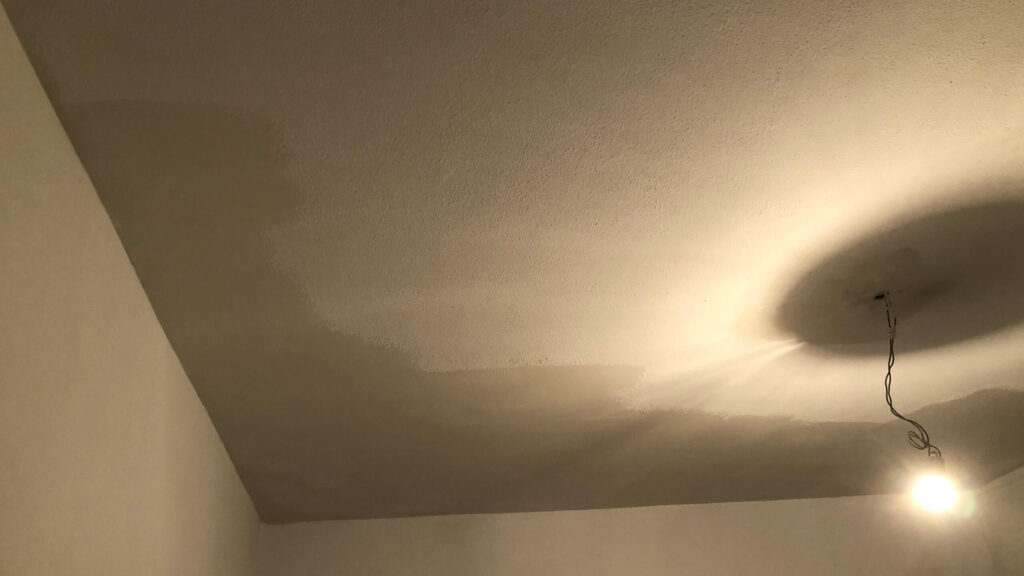
Spray a small section of the ceiling with water, enough to dampen it without soaking. Let it sit for 10-15 minutes. This helps soften the texture, making it easier to scrape off.
Start Scraping
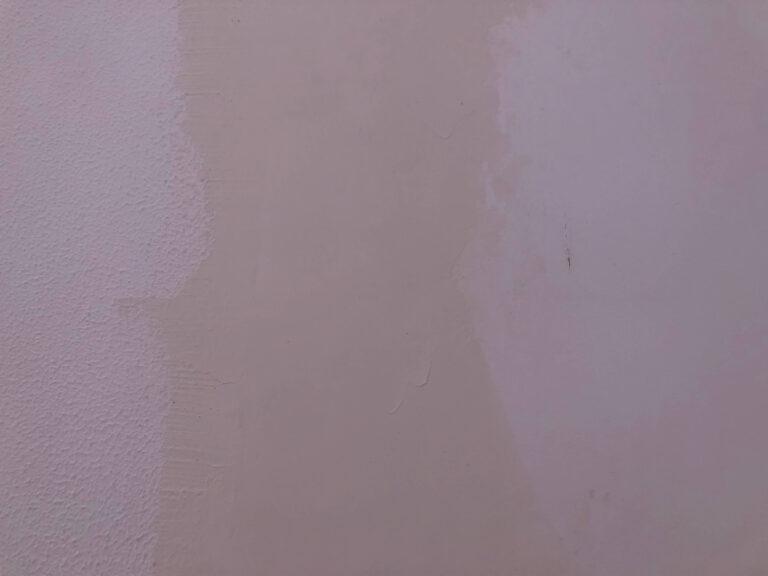
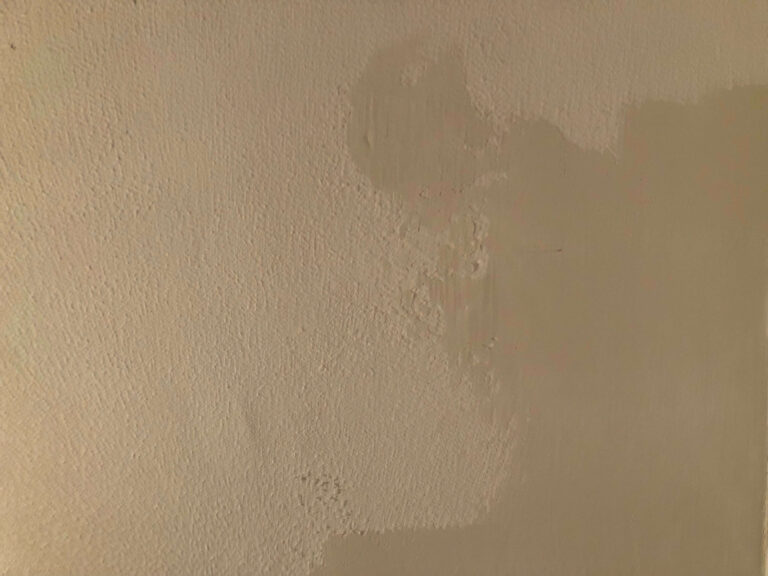
Use a wide, flat putty knife to gently scrape off the softened texture. Work slowly and carefully, applying minimal pressure to avoid damaging the ceiling underneath. If some areas are stubborn, respray them with water and try again.
Tips & Tricks
Avoid Damage
Be gentle when scraping to avoid gouging the ceiling underneath.
Safety First
Always wear protective gear, especially if there’s a risk the ceiling contains asbestos. If you’re unsure, have a professional test it before you start.
Work in Sections
Wet and scrape one section at a time, instead of trying to do the whole ceiling at once.
Sand & Smooth
After you’ve removed most of the texture, inspect the ceiling for any rough patches. Use sandpaper or an electric sander to smooth these areas, ensuring a clean, even surface.
Did You Know? Popcorn ceilings were originally popular in the 1950s through the 1980s because they helped absorb sound and cover up imperfections on ceilings. However, many older popcorn ceilings contain asbestos, a dangerous material that can cause serious health issues if inhaled. This is why it’s important to test for asbestos before attempting to remove a textured ceiling, especially in homes built before 1980.
Finish & Paint
Once the ceiling is smooth, you can leave it as is or add a fresh coat of paint. If you choose to paint, apply a primer first and then paint using a roller for an even finish.
Frequently Asked Questions
Q: Is it safe to remove a popcorn ceiling myself?
A: Yes, as long as you take safety precautions. However, if your home was built before 1980, there’s a risk the ceiling contains asbestos, and you should have it tested first.
Q: How long does it take to remove a popcorn ceiling?
A: Depending on the size of the room, it can take anywhere from a few hours to a full day. The preparation and cleanup time also need to be considered.
Conclusion
Removing a popcorn ceiling can be a messy job, but with the right tools and some patience, you can achieve a smooth, modern ceiling. I hope this guide and the video tutorial help you through the process. If you prefer to have a professional handle it, feel free to reach out to us at Handyman Aguilas for expert assistance!
Some of the links in this article are affiliate links. This means that if you decide to make a purchase through them, I will receive a small commission.
At no extra cost to you!
This allows me to continue sharing authentic content and recommendations that I truly love.
Thank you for being part of this journey and for supporting my work!

